GSF 109
Well-Known Member
- Posts
- 814
- Location
- Scotlandshire
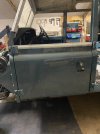
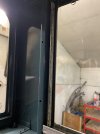
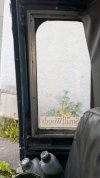
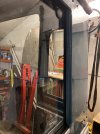
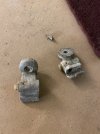
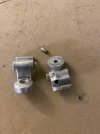
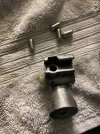
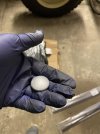
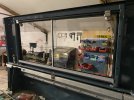
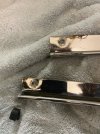
To move on the window installation, I cleaned up the two sliding window catches. They cleaned up quite well, but unfortunately I am missing the two plungers. So if anyone knows where I can get some, let me know! To get this moving I used the ones from the other side. I cleaned them lubricated the catches and managed to get them working again. Wahay!
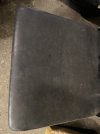
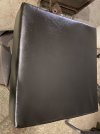
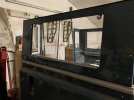
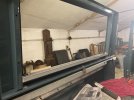
 . I fitted the catches to the glass, gave the glass a clean, painted the round securing nuts silver to make them look a bit better
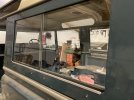
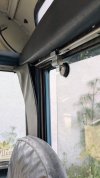
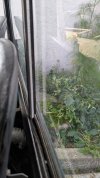
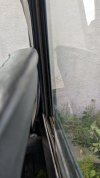
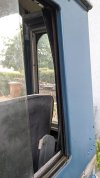
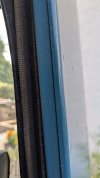
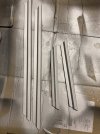
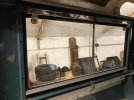
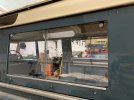
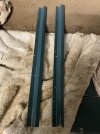
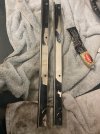
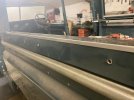
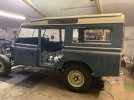
  . Fitting the channels was a bit of a faff, but once done it looks the business! Nice to see parts I bought a year ago finally finding their way on to the Landy! Ive just got to fit the two stainless runners to finish, then I’ve got it to do all again on the other side
  .
.

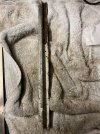
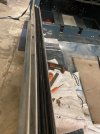
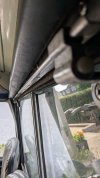
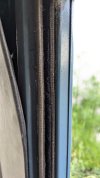
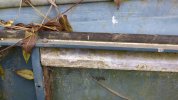
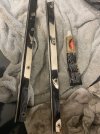
 . I couldn’t finish the rivets, so moved onto the other window channel.
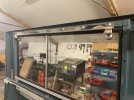


 . Hopefully not too many rivets to install, so just bought another manual one for now.
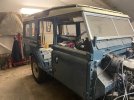
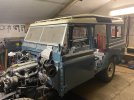
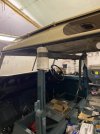
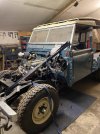
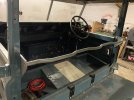
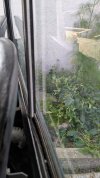
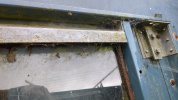
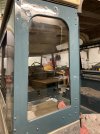
 . Had to resort to some tweaking with ratchet straps to get the bulkhead into a better position. Also had to do the same with the ‘b’ posts. I’ll tighten the bolts down on the roof and see how it all looks next. Still got the front and rear doors to finish and door tops to build up and fit which will allow me to get the gaps better again. Still feels like I have miles to go yet!