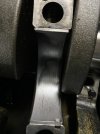
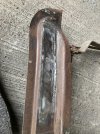
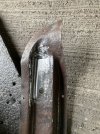
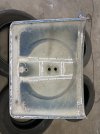
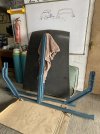
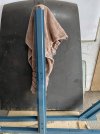
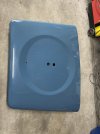
Made a bit of progress on the bonnet at last. Been busy with other stuff, so glad to be getting this done. I finished welding the frame to make it solid again. Put a light skim of aluminised filler to tidy up some bits, which is stronger and more resistant to cracking just because bonnets tend to get slammed - plus the extra weight of the spare wheel. Once that was rubbed down, I hit it with Kurust, then zinc primer, regular primer, then 3 coats of UPol gloss black. I then cleaned off the underside of the bonnet to give a clean surface for some Purflex sealant, which will act as an isolator between the two different materials and a bonding agent to minimise vibration.
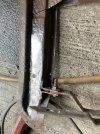
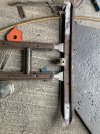
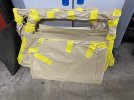
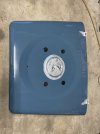
After squeezing the frame back onto the bonnet I screw pinned all rivet holes, then riveted the two panels together using Wurth sealed rivets. Probably an overkill but they are good quality.
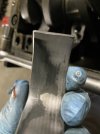
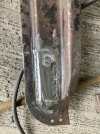
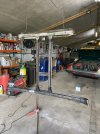
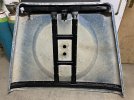
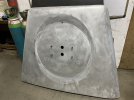
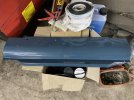
Almost done with the bonnet now. Just some minor filling to be done, a sand down, then send it out for paint. Can’t wait to see it painted, with the newly galvanised spare wheel mount and bonnet hinges, new rubber buffers, and fixings! Oh, the small wins keep me going

.
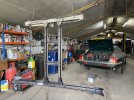
 . Just got a couple of more pin holes to sort out, tidy it up with a little filler, prime, paint and refit.
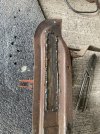

 It will also let you learn from my mistakes!


 .
.

 .
.
 . I hope to find out next weekend when I’m next at the shed.


 .
.
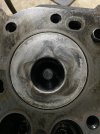
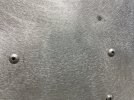
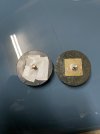
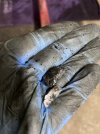
 is it attracted to a magnet, or a chunk of aluminium?