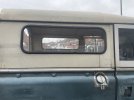
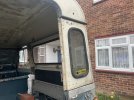
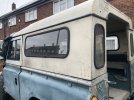
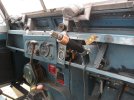
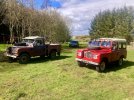
The roof and sides are on fixes with all new rubbers all around top and bottom, and new stainless steel nuts an bolts, looking more like a Land Rover again!
You are using an out of date browser. It may not display this or other websites correctly.
You should upgrade or use an alternative browser.
You should upgrade or use an alternative browser.
My new Galv Chassis' AND Power Steering
- Thread starter Dopey
- Start date
This site contains affiliate links for which LandyZone may be compensated if you make a purchase.
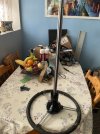
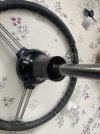
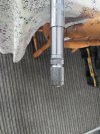
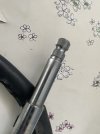
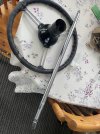
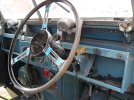
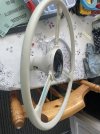
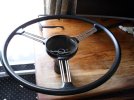
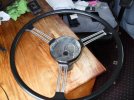
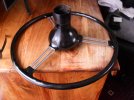
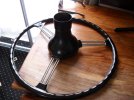
Sorry for the lack of updates, but I have been waiting for this t be done, I wanted to keep the original steering wheel and had to get this made, I just picked it up, and it looks and fits great, costs a few £££ but I think it's worth it so it looks pukka, its make of hardened steel so its up to the job, now I can progress a bit more If we start getting better weather as well, Its being built on my front garden, so I rely on the weather.
Attachments
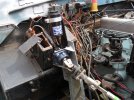
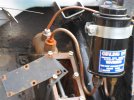
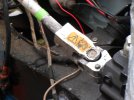
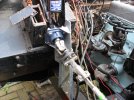
A bit more done with the steering and electrics and hydronic piping, I'm useless with sparks, so I have to check everything 5 times, and put it (hopefully) right, then check it again!! Orders the red starter cable for the battery, going to put it under the pax seat, getting 3m so should be enough? Test trial the steering and put the bearing on for the steering rod, have to sand and paint some of it before I fit it (with galv spray)
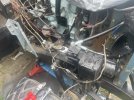
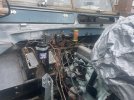
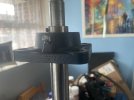
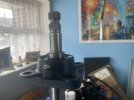
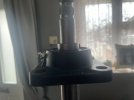


Almost done, Just needs testing out, that's the biggest job, the big thing is I still have the original steering wheel and that the whole idea of it all, it looks like it should!
Attachments
IT’s looking great. I’m just finishing my S3 rebuild. A 1971 now with a 200tdi and a galv chassis and bulkhead. It’s taken me a year of working evenings and weekends. Electrics took ages because I added several relays to reduce the load on all the old switches. A bit more sound proofing to do and that should be it.
Iain
Iain
Attachments
So the solid green one is a switched and fused live, usually feeding something like a brake light switch or a wiper motor switch. I’ve seen green/yellow used for either the heater motor or the oil pressure switch in some wiring looms. Good luck!It's taken us a long time, because we are crap with electrics!! Anyone know that the Green is for and the G/yellow ????
View attachment 316511
Iain
Just trace the other end of the G/Y and see where it goes, or which dash panel switch is still missing connections after you’ve wired everything else.So the solid green one is a switched and fused live, usually feeding something like a brake light switch or a wiper motor switch. I’ve seen green/yellow used for either the heater motor or the oil pressure switch in some wiring looms. Good luck!
Iain
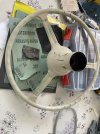
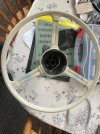
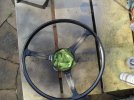
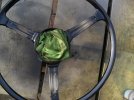
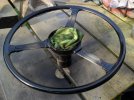
Starting on my steering wheel now, took the old cover off and threw it away, got a new leather one and going to stitch it on, but after I prime it, rub it down, fill the cracks in, and prime it again, put some black gloss on and then cover it again
Attachments
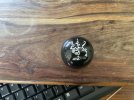
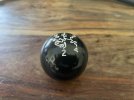
Don't ask how much, but I got this for her.... I ordered a round one for a series 2, BUT they sent me a round one for a series 3 (It had NO thread in it) I don't know If I should return it or not? I can always put some Araldite in the hole, but I am not sure!
Attachments
Hicap phill
Well-Known Member
- Posts
- 17,295
- Location
- Wiltshire
Thought the S2 was like a mushroom shape?Don't ask how much, but I got this for her.... I ordered a round one for a series 2, BUT they sent me a round one for a series 3 (It had NO thread in it) I don't know If I should return it or not? I can always put some Araldite in the hole, but I am not sure!
Send it back
- Posts
- 5,083
LT77 knob, there should be an insert that presses into the knob ... a star ring insert.
For the defenders it's something like this ...

For the defenders it's something like this ...

replacement gear knob thread insert | eBay
Only suitable for a gear knob bought from us.
www.ebay.co.uk
It is, I amThought the S2 was like a mushroom shape?
Send it back
Continuing with the steering wheel, filled the hair like cracks, spray filler/primer sand down again.... and again, Ordered black gloss and lacquer from amazon, going to spray it again 2morrow, fingers X these things are starting to cost a LOT of money, very bad ones go for £250
Did the back and decided not to lacquer it, don't see the point, it's acrylic gloss, next job is to put the leather cover on with the fancy stitching, see how I manage that, bet I make a pig's ear out of it!
Attachments
The first timebet I make a pig's ear out of it!
You can show 3rd or 4th
J
Similar threads
- Replies
- 11
- Views
- 2K
- Replies
- 0
- Views
- 519


