jamesmartin
Well-Known Member
- Posts
- 91,879
- Location
- louth lincs
does anyone have an answer for Jake?
what was question ,not enough shims ?
does anyone have an answer for Jake?
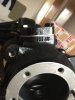
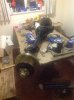
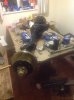
Has anyone tried to replace these, or ever had an issue with this.
check you only have one thrust washer fitted and bottom bearing race and top bush fully home,you need to add shims to make housing move easier . 8 to 10 lb with seal not fitted,ps you can use the old shims as well
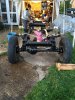
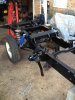
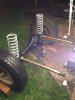
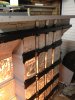
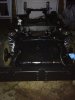
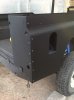
Okay 2 pics at a time. ................... Awesome
Welcome To LandyZone, the Land Rover Forums!
Here at LandyZone we have plenty of very knowledgable members so if you have any questions about your Land Rover or just want to connect with other Landy owners, you're in the right place.
Registering is free and easy just click here, we hope to see you on the forums soon!