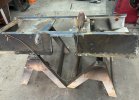
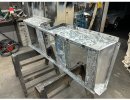
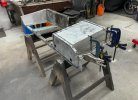
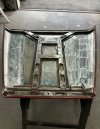
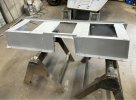
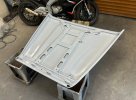
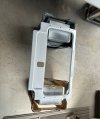
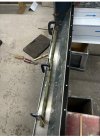
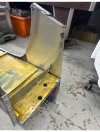
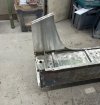
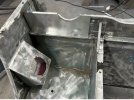
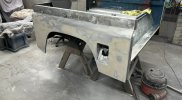
All the axle and suspension parts are now painted, dry and stored. All of the rusty bits have been dropped off at the blasters, in the meantime it’s bodywork fetteling oh how I have missed weeks of straightening panels and endless DAing  on the plus side I am buying….. no Investing ! In brand new heavy duty steel wings, new doors and tailgate son that should speed things up a little
You are using an out of date browser. It may not display this or other websites correctly.
You should upgrade or use an alternative browser.
You should upgrade or use an alternative browser.
Blood, sweat & beers ! 1984 Defender 90 restoration
- Thread starter UpandOver
- Start date
This site contains affiliate links for which LandyZone may be compensated if you make a purchase.
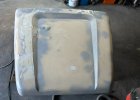
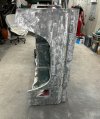
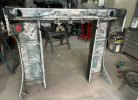
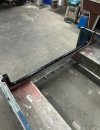
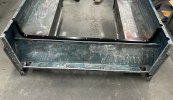
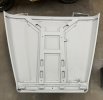
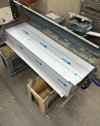
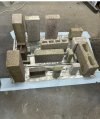
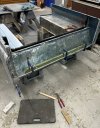
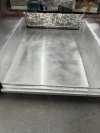
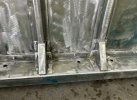
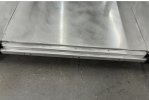
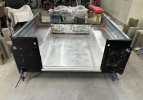
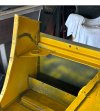
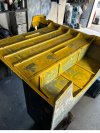
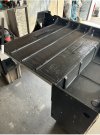
Tonight’s mission is to prep the seat box for primer, two new end sections and some metal bashing and its nearly ready for paint. Just have to wait for the panel bond seam seal to go off. Top tip to remove sound proofing, heat it up with a heat gun and peel it off with a sharpened wall paper scraper.
Oh and Ive sent the v5 away today to DVLA informing them of a colour change. Yes unlucky for some this defender is going green. As will be nicknamed Kermit
Oh and Ive sent the v5 away today to DVLA informing them of a colour change. Yes unlucky for some this defender is going green. As will be nicknamed Kermit
Attachments
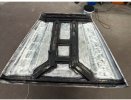
Seat box all complete ready for etch and primer, bonnet all cleaned up with the steel work rust converted and new seam sealant just to add some strength and dampening to the ali skin. Have a few small dent that needs skimming and sanding then its ready for some primer
Attachments
Bit the bullet and decided to strip it right back to bear ali, came across a few deep dents that had been filled in which is not what I would want to be re painting over. Let the metal bashing begin. Have to admit I do hope mrs hughes doesnt look at my search history, she’ll be ever so concerned when she sees that I’ve been googling New Hammer and dollies 
Attachments
Forrest Gump
Well-Known Member
- Posts
- 417
- Location
- Edinburgh
Cracking effort your putting in there, well done.Bit the bullet and decided to strip it right back to bear ali, came across a few deep dents that had been filled in which is not what I would want to be re painting over. Let the metal bashing begin. Have to admit I do hope mrs hughes doesnt look at my search history, she’ll be ever so concerned when she sees that I’ve been googling New Hammer and dollies
Windscreen surround, bonnet, roof bar and bonnet catch slam panel all cleaned up, etch primed and primed. Appart for a few runs which will flatten out with some sanding their looking good  will flip the bonnet over tomorrow and prime along with the front rad panel. Its sure is nice to get some paint down … progress
Attachments
ShaunPDisco
Active Member
- Posts
- 493
Great work. Keep at it!!! Inspiration!
Another day of sanding, priming, sanding, priming, sanding, gravitexing, priming and now finally beer time …. Mrs Hughes is becoming more and more suspicious as I’m spending every minute in the garage and complaining that my back and wrist hurts… if only she knew how much effort goes into bodywork prep … will be glad to see everything painted primer grey 
Attachments
Hicap phill
Well-Known Member
- Posts
- 16,720
- Location
- Wiltshire
Ooo the good old starter handle hole….Another day of sanding, priming, sanding, priming, sanding, gravitexing, priming and now finally beer time …. Mrs Hughes is becoming more and more suspicious as I’m spending every minute in the garage and complaining that my back and wrist hurts… if only she knew how much effort goes into bodywork prep … will be glad to see everything painted primer grey
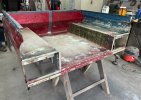
New 1.6mm ali inner wing liners cut to shape and ready to be panel bonded and rivited over the original wings to give a smooth as new finish to the inside of the tub, also bonded 2mm sheet to the original floor here it is with some weight on it till its dry, should be good tomorrow morning. Also bonded some ali to where the seat belt mounts go due to some galvonic effect, parts of the tub had gone very thin. Going to make some stainless steel seatbelt mount brackets to stop any further corrosion. All in all some very good progress today.
Attachments
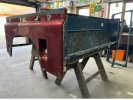
Rear wheel arches strengthened with formed inner ali sections panel bonded into place, few other repair sections fitted. New inner wheel arches bonded and rivited along with new floor and rear cross section all bonded rivited and bolted using 5mm dome stainless steel Allen bolts. Finished the day off by fitting new rear quarters. Unfortunately it will all have to wait now until I get back from a weeks motorcycle riding to Cornwall.
Attachments
Last edited:
Forrest Gump
Well-Known Member
- Posts
- 417
- Location
- Edinburgh
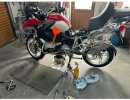
Your a machine tooAnd in between all of the landy stuff I managed to give the bike a service before the trip
SimonBrown
Active Member
- Posts
- 50
Rear wheel arches strengthened with formed inner ali sections panel bonded into place...sections fitted. New inner wheel arches bonded and rivited along with new floor and rear cross section all bonded rivited and bolted using 5mm dome stainless steel Allen bolts.
I'm about to go through a similar process on my tub...more or less.
Two questions:
What adhesive are you using to bond the panels?
Having used it, would you recommend or use it again?
I have used HB Body Pro S115 and HMP seam seal both as equally as good. But the HB stuff does dry slightly harderI'm about to go through a similar process on my tub...more or less.
Two questions:
What adhesive are you using to bond the panels?
Having used it, would you recommend or use it again?

