UpandOver
Well-Known Member
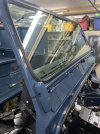
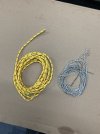
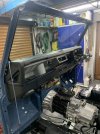
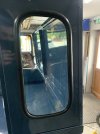
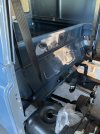
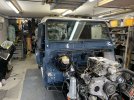
After two attempts the windscreen is in place, plenty of fairy liquid and thicker cord than first thought and hey presto
Attachments
UpandOver
Well-Known Member
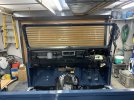
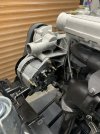
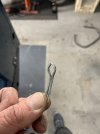
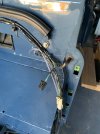
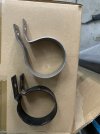
Todays task fit the rear quater glass, armed with new seals, clean glass some fairy and a flat screwdriver! Oh and some googling and youtube watching I realised I need another special tool that I dont have nor can I get one from screwfix grrrr…. Oh well I’ll just have to make one ….google images and a small piece of the rubber infill strip, galv gardening wire, pliers, hammer and vice ‘voila!’ A new special tool and one quater glass fitted !
Attachments

UpandOver
Well-Known Member
Progress has stalled sum what, but the little jobs seem to be just as rewarding.
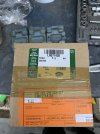
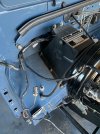
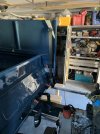
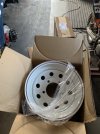
Seat belt mounts painted black, belts washed and fitted with some new bolts. Routed some of the cables through the bulkhead for the door light switches. Oh and packed up the original brass\copper radiator to send over to North Wales Radiators in Deeside for recore. They have done a few rads for me over the years and never disappointed, quality is exceptional and cost is reasonable £215+vat (contact Kris for any enquires)
Seat belt mounts painted black, belts washed and fitted with some new bolts. Routed some of the cables through the bulkhead for the door light switches. Oh and packed up the original brass\copper radiator to send over to North Wales Radiators in Deeside for recore. They have done a few rads for me over the years and never disappointed, quality is exceptional and cost is reasonable £215+vat (contact Kris for any enquires)
Attachments
UpandOver
Well-Known Member
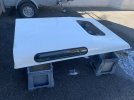
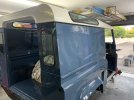
who needs alpine windows? Surely there must be an easy way to fit new rubbers …. Apparently not. After an hour farting around in the garden with the roof safety layed on grass I gave up.
Ordered another set of seals this time from SP4x4 and guess what ? Yes there is a easier way to fit these little buggers. These seals felt much softer that the first set and withing 15min and half a bottle of your finest lemon zesty fairy the first one is in, then the second followed as quickly as the first.
Sun roof frame painted and bonded back in. Just hope I never have to remove it.
Attachments
celicaturbolly
New Member
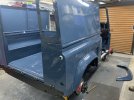
Been meaning to register on here for a few months - this thread has been a pleasure to read and has convinced me to do so. That blue colour in new condition is a lovely shade - I hope to re spray mine, which is the same colour back to this condition one day.
Great work thanks for sharing.
Great work thanks for sharing.
UpandOver
Well-Known Member
Been meaning to register on here for a few months - this thread has been a pleasure to read and has convinced me to do so. That blue colour in new condition is a lovely shade - I hope to re spray mine, which is the same colour back to this condition one day.
Great work thanks for sharing
Welcome on board! There’s no excuses now get spannering ! The forum is a wealth of info with some very experienced landy geeks to give a helping hand, failing that there’s youtube

Thank you for your kind words, it sure is a labour of love doing these old work horses up, but the reward is far greater than all the sweat, tears, and knuckle skin.
UpandOver
Well-Known Member
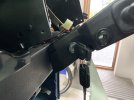
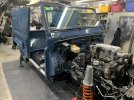
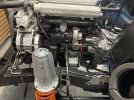
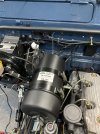
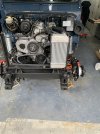
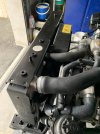
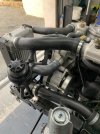
progress report just in ….. beee beep beeep beep.. air box and brackets painted, a fresh set of rubber mounts and its back in place adorned with a genuine, reproduced Rand Lover sticker courtesy of ‘ I say ding dong ltd’ …… well I say thats some name for your company!
Attachments
UpandOver
Well-Known Member

UpandOver
Well-Known Member
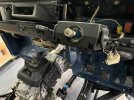
New genuine LR ignition and lock set turned up on Saturday, decided to go for the TD5 version so that the ignition key is the same as all the door barrels. It does mean I’ll have to replace the front door handles as they have deeper locks but they look identical from the outside.