Forrest Gump
Well-Known Member
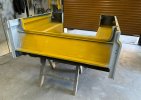
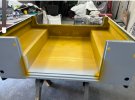
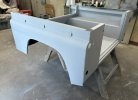
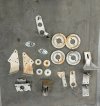
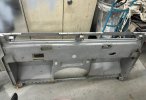
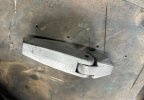
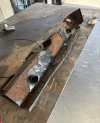
Brilliant. Very good show on the work you’re doing. Makes me want to hunt out another 90 and get tore in. Good progress mate…keep it coming.Righ hand side of tub skimmed with fine filler and block sanded to smooth out any small dents